This article aims to let you know by using a demo:
About session management inside UCCX scripts
How to take advantage of the default session associated with a call
How to preserve information in sessions for re-use with future calls
How to store and retrieve information from sessions
Download the script that was used for this demo:
Background knowledge
A session will remain in memory for 3 minutes after it is no longer referenced by the call
Each call is associated with its own session.
Many calls could reference the same session as long as they are all related:
- Redirected calls
- Consult calls
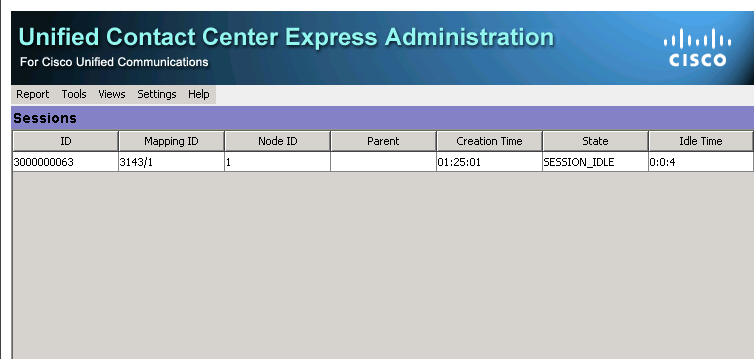
A session can also be referenced manually via a mapping identifier
Such a session will by default remain in memory for up to 30 minutes after it is no longer referenced by a call
Sessions are maintained inside the UCCX Engine memory
They are not replicated to the other server when using the High Availability feature
They are not persisted to disk
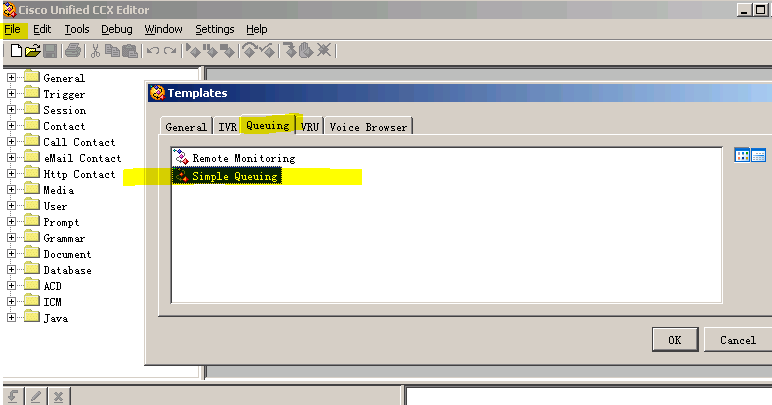
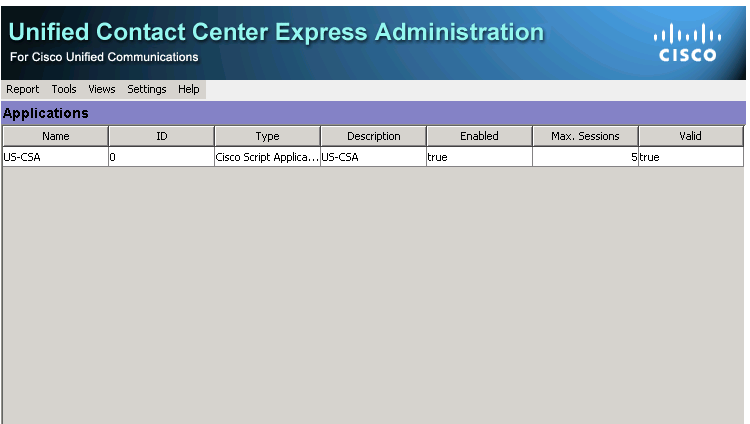
Sample queuing Script
The Modifications will involve:
-Promoting the customer the first time, he/she calls in:
For his/her account number
To record his/her name
-provide a personalized message whenever he/she:
Calls back within 30 minutes
Gets transferred back to the script by an agent
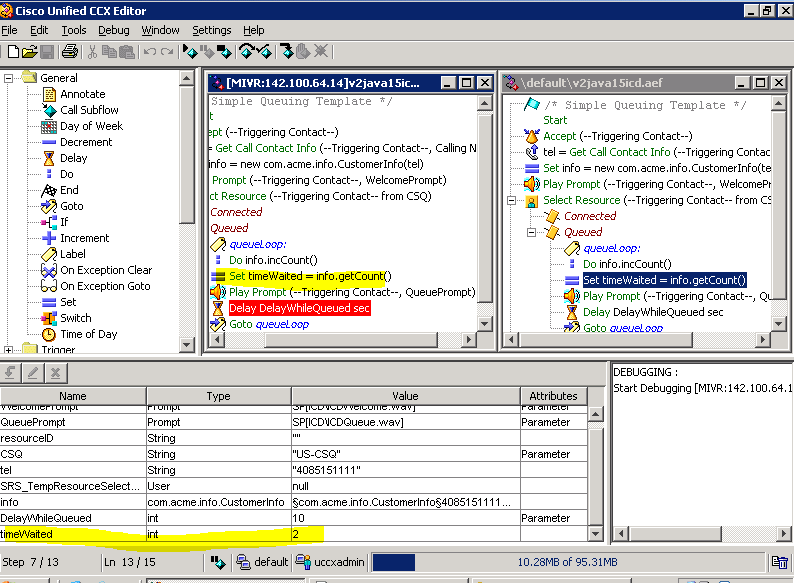
Call flows Script editing
Three major call flows come across our script
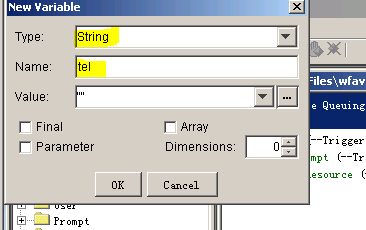
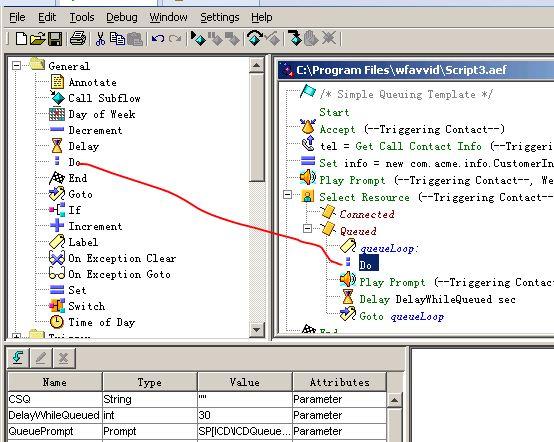
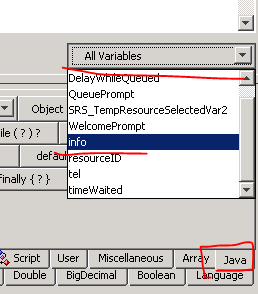
Five variables used in this script:

First Time Caller
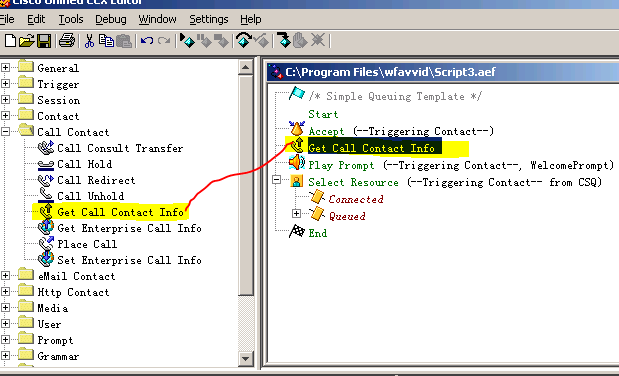
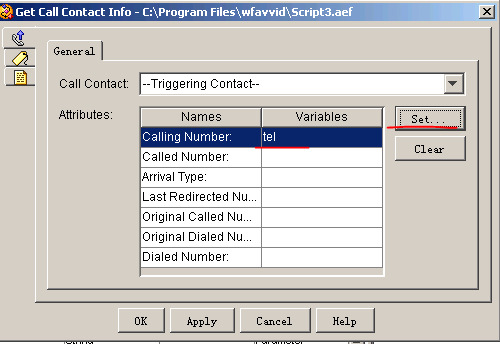
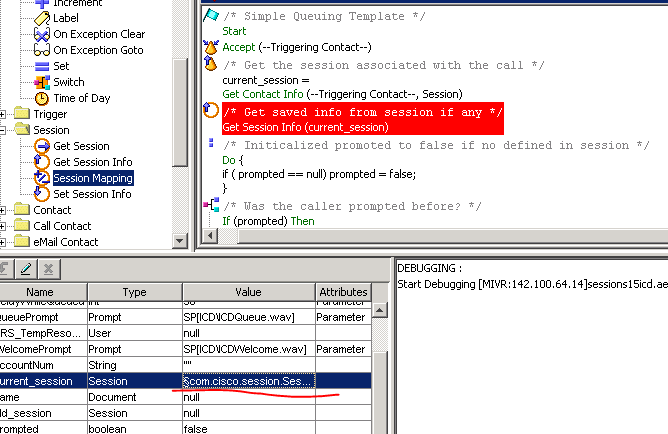
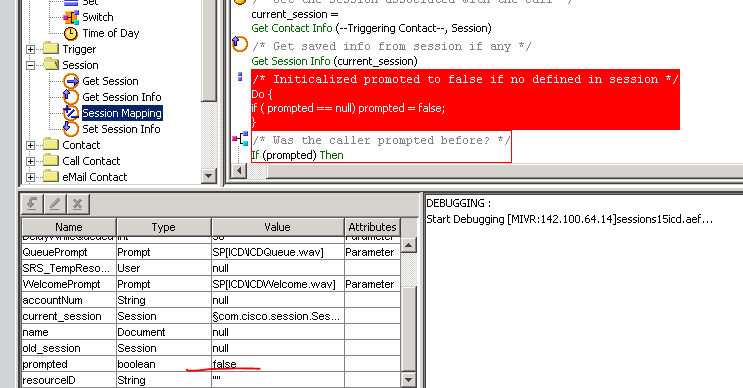
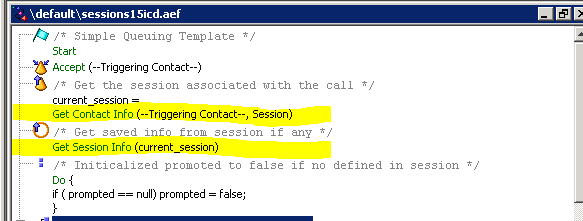
Used GetContactInfo and GetSessionInfo steps to determine there was no stored information in the session associated with the call

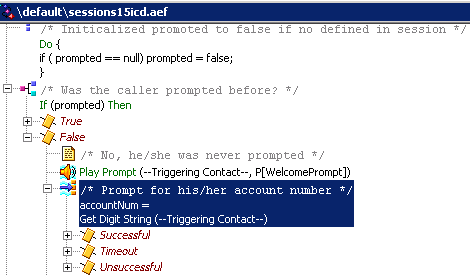
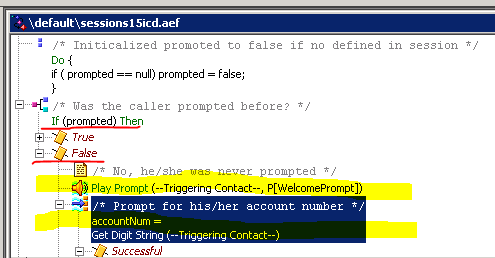
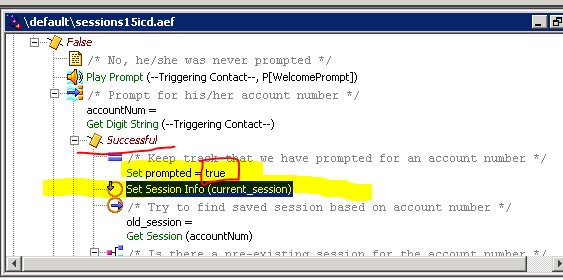
Tested that the customer has never been prompted before by using Do test

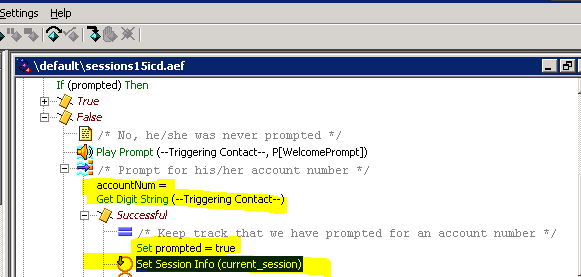
Welcomed the customer and collected his/her account number
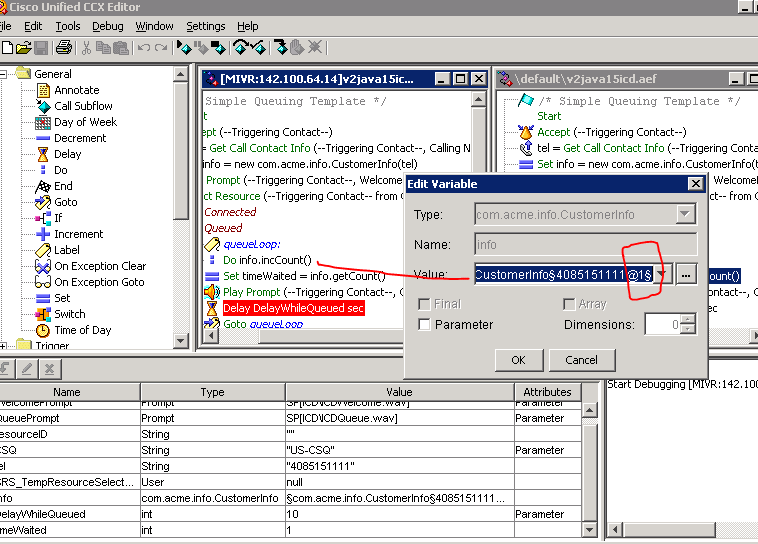
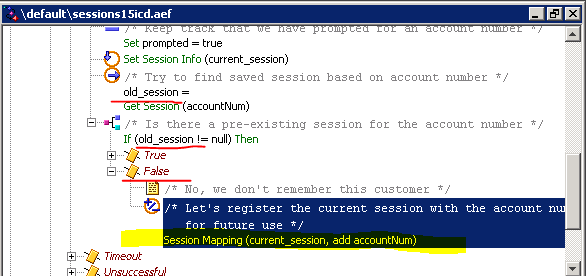
Used SetSessionInfo step to update the current session with the account number and a prompted flag set to true
Used GetSession step to check if we had previously stored information in memory, which we had not

As a result, we used SessionMapping step to create a mapping in memory from the account number to the current session
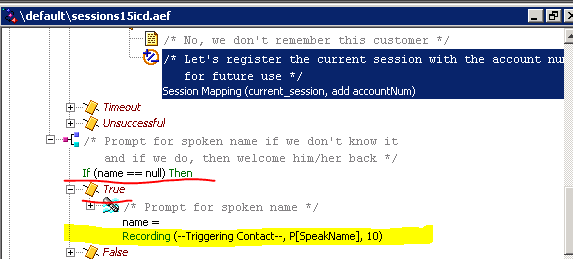
Prompted the customer to record his/her name
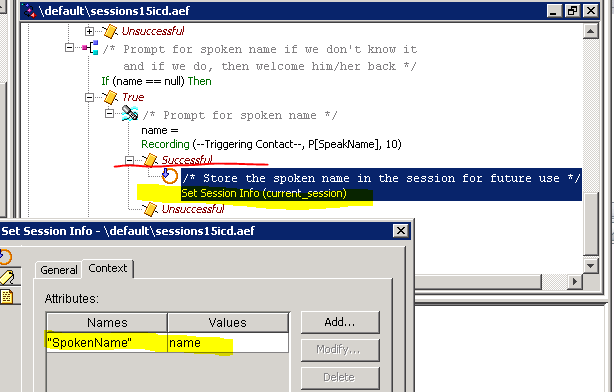
Used SetSessionInfo step to update the current session with the recorded name
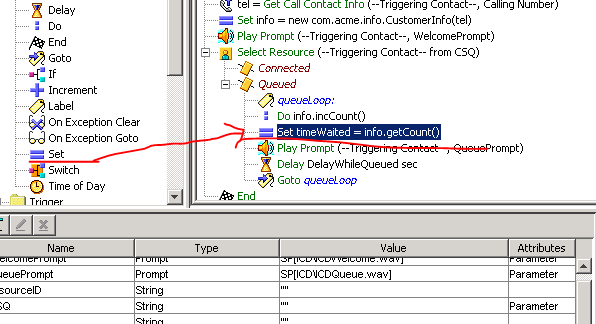
Queued the customer for an agent
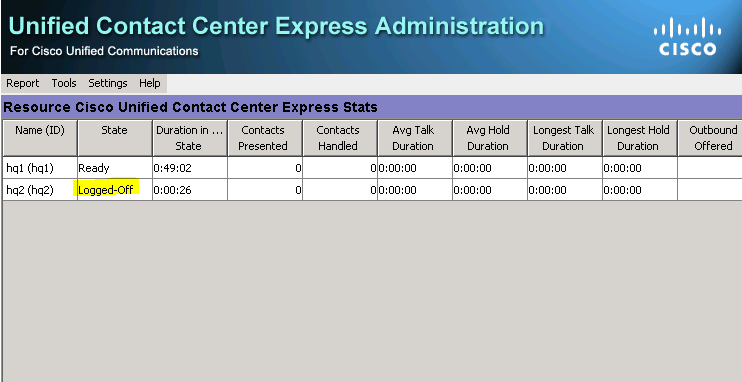
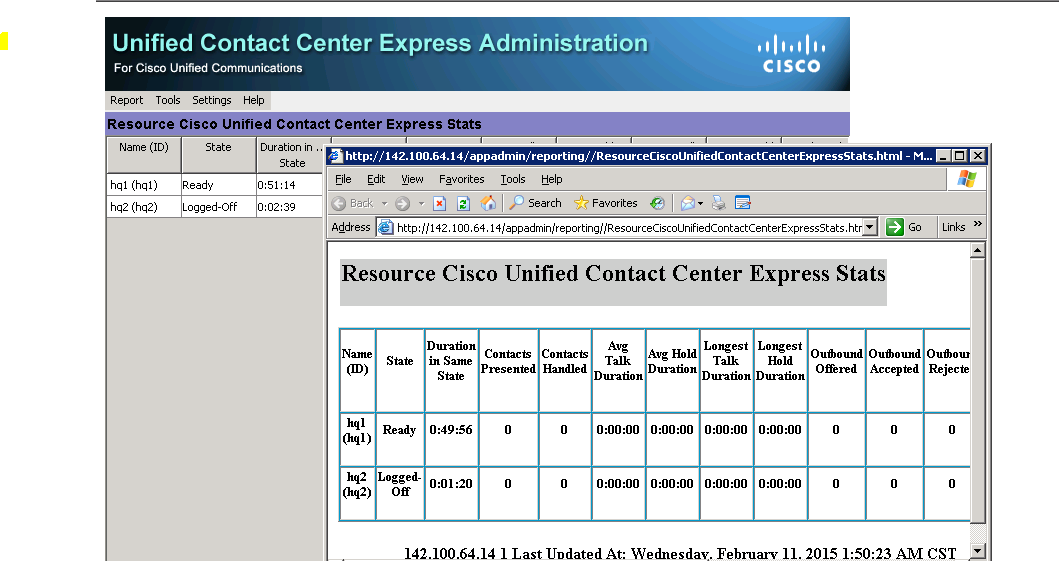
Test
Get session
Never prompted before
Get account number
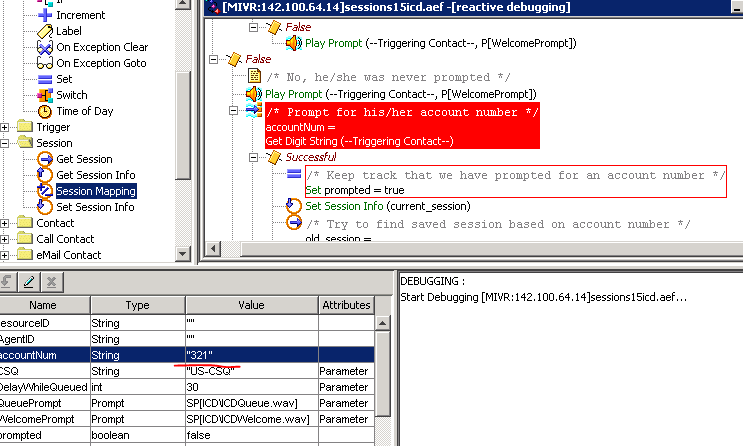
Record user name, old_session equals null

Redirected Caller
Used the previous call flow redirected by an agent
Used GetContactInfo and GetSessionInfo steps to determine there was information in the session associated with the call
Tested if the customer was prmoted before which he/she was
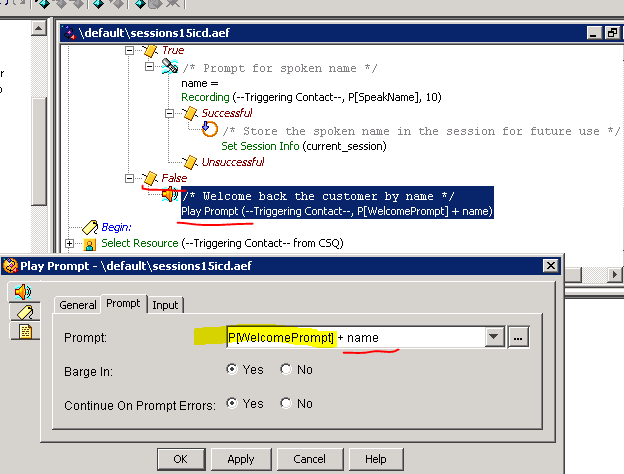
Prompted the customer to record his/her name if it wasn’t in the session
Used the SetSessionInfo step to update the current session with the recorded name if a new one was recorded
Welcome back the customer with a personalized message
Queued the customer for an agent
Previously Seen Customer
Involved the customer is calling back within 30 minutes window that is a default time remained in the memory and will be wiped out when no longer being referenced.
Used GetContactInfo and GetSessionInfo steps to determine there was information in the session associated with the call
Tested if the customer was prmoted before which he/she was not

Welcomed the customer and collected his/her account number
Used SetSessionInfo step to update the current session with the account number and a prompted flag set to true
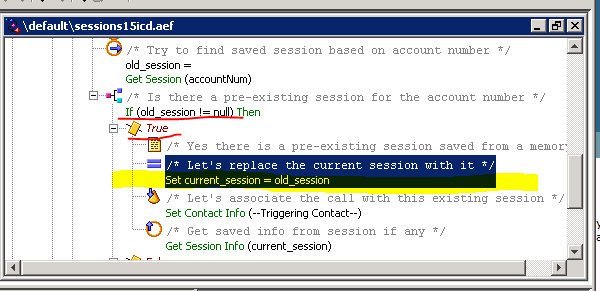
Used GetSession step to check if we had previously stored information in memory which we had

Because we have found the existing session, we used SetContactInfo step to replace the current session associated with the call with the old one
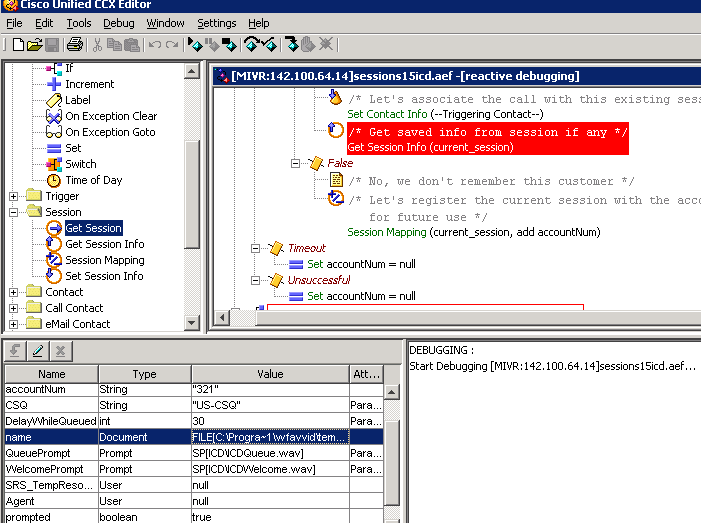
Used GetSessionInfo step to retrieve all stored information

Prompted the customer to record his/her name if none was stored
If that was a case, we used the SetSessionInfo step to update the old session with the recorded name if a new one was recorded

Welcomed back customer with a personalized message
if the recorded name was already existed in the old_session, and retrieved back to the current session, we play welcome prompt + name to the customer
Finally, we queue the customer for an agent
Test
Enter the old account name”321”

Map old_session to current_session

Retrieve all information from old_session
Prompted back recorded name to the caller