UCS C240 Installs VMware ESXI5.1
1.Preparation
- VMware ESXI5.1的IOS iamge
path:\\server5\software\Vmware\ESX\VSphere5.1
- Connect NIC to network in order to acquire ip。(if not using dhcp, F8 to assign static)
2.login CIMC
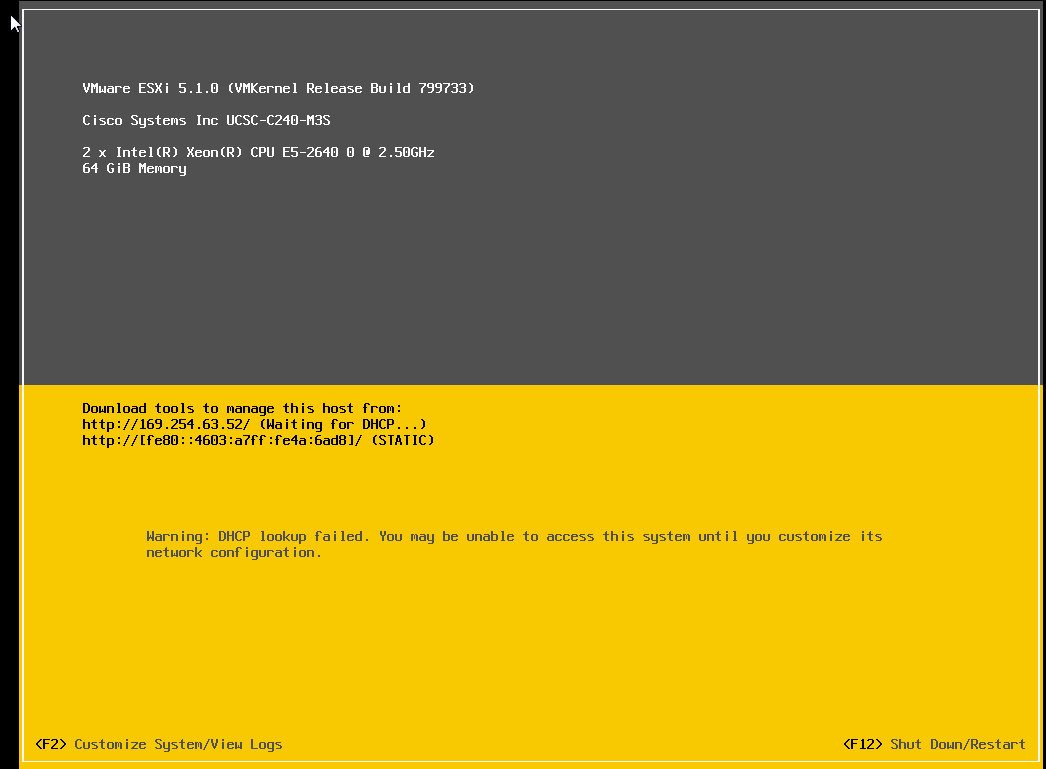
After reboot server. Will display sys info:
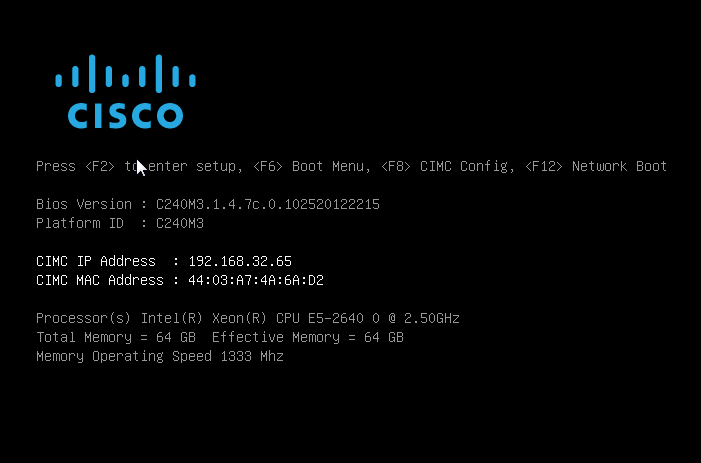
Fill find cimc address. Press F8 to enter CIMC config for detailed configs
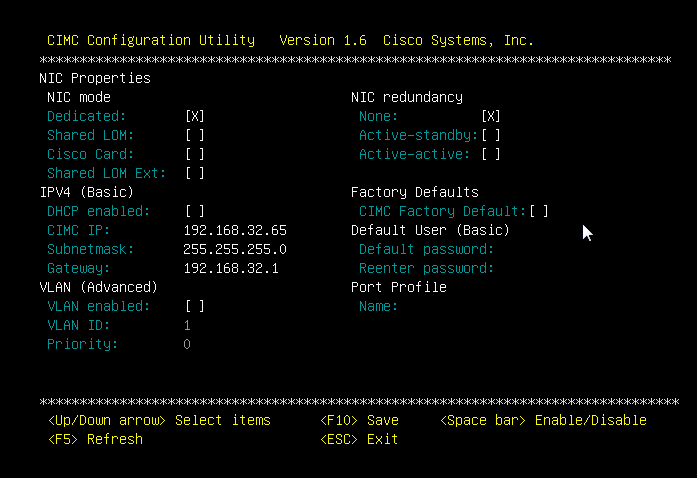
可以选择DHCP 和手动静态指定。
Choose dhcp or manually assign address
Login page
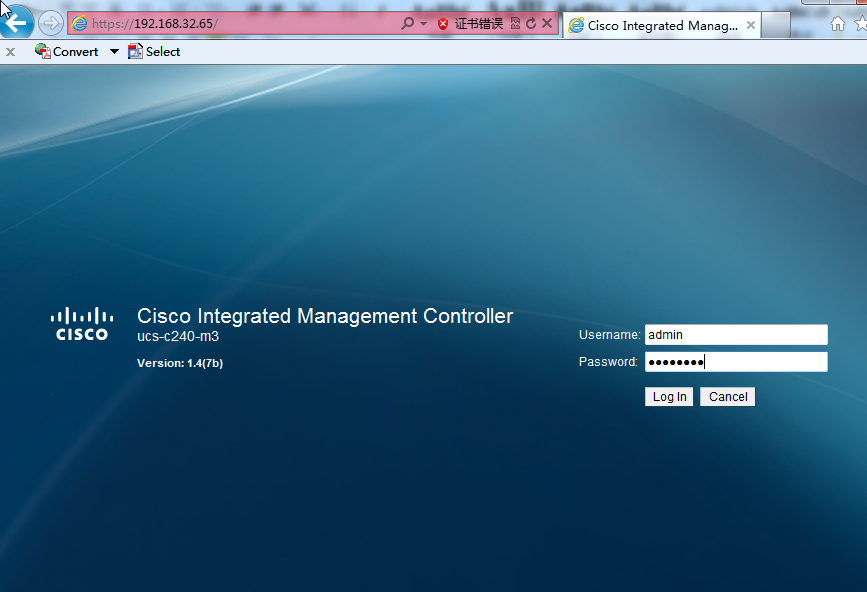
Admin/password by initial login
CIMC operations
CIMC:

Raid settings
- After a reboot, ctrl + H login to raid config page then choose configuration Wizard
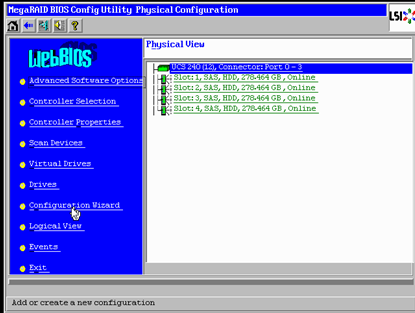
2、New Configuration -> Next
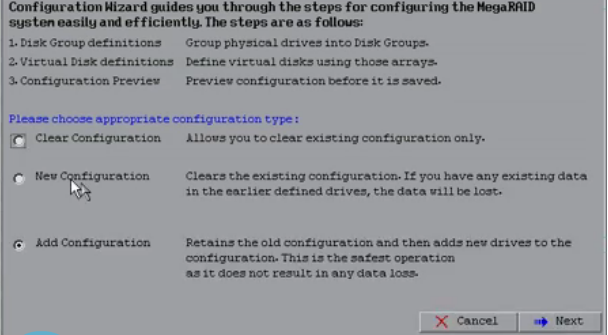
3、Custom configuration

- Add disk to logic disk group

5、press Cotrol to select all disk. Add To Array-- Next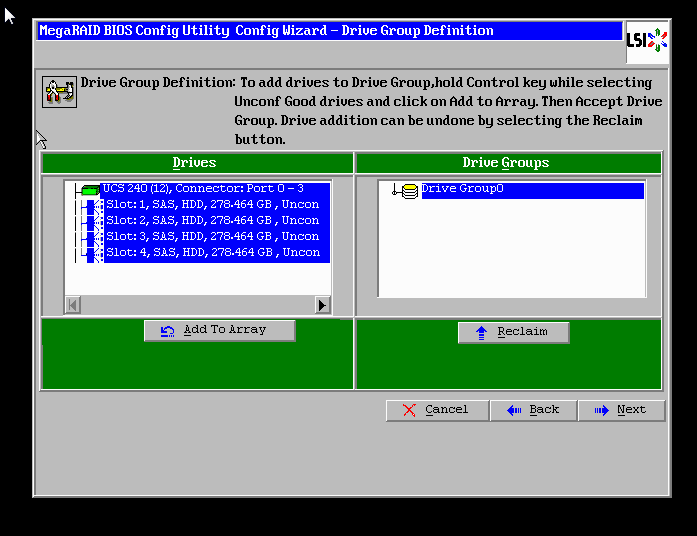
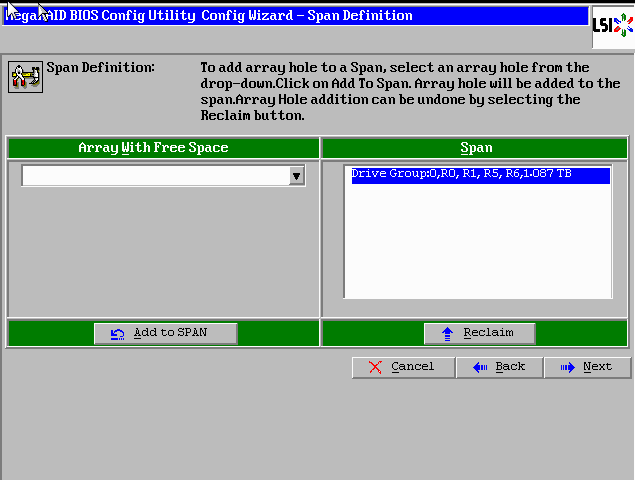
6、add Span and press Add to SPAN-> Next

7、Next
8、showing raid level ,choose size of disk。
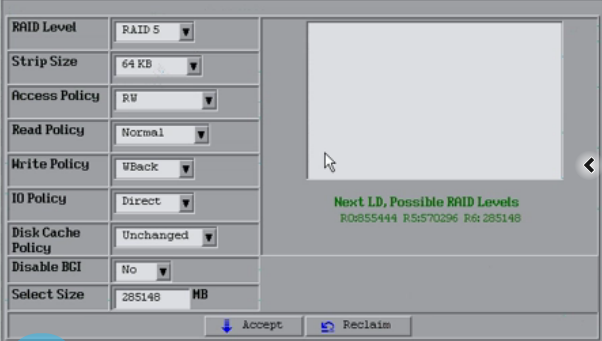
9、点击Accept

10、select Yes

10、select Fast Initialize-> Go
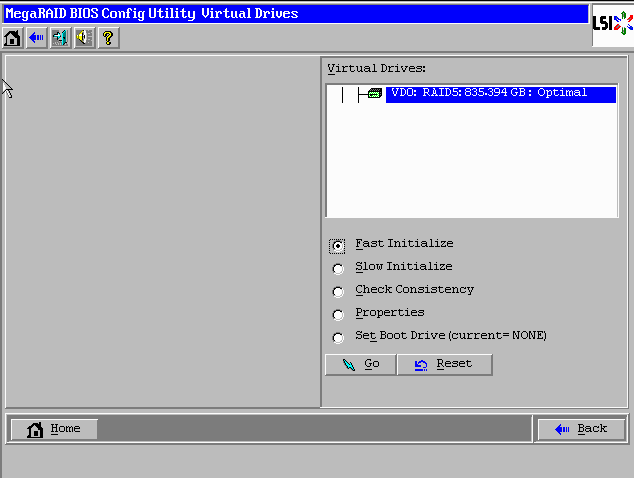
12、reboot server and save config
Login KVM console
Choose yes to continue


virtual cd-rom settings
in KVM Console, click Virtual Media->Add image to select image,
and click mapped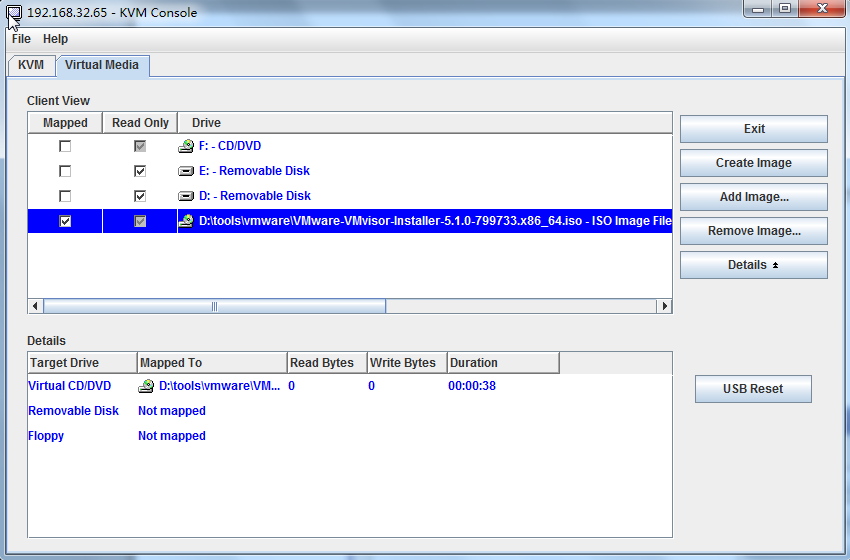
image becomes an vitual disk
install VMware ESXI5.1
click Macros –> Ctrl-Alt-Del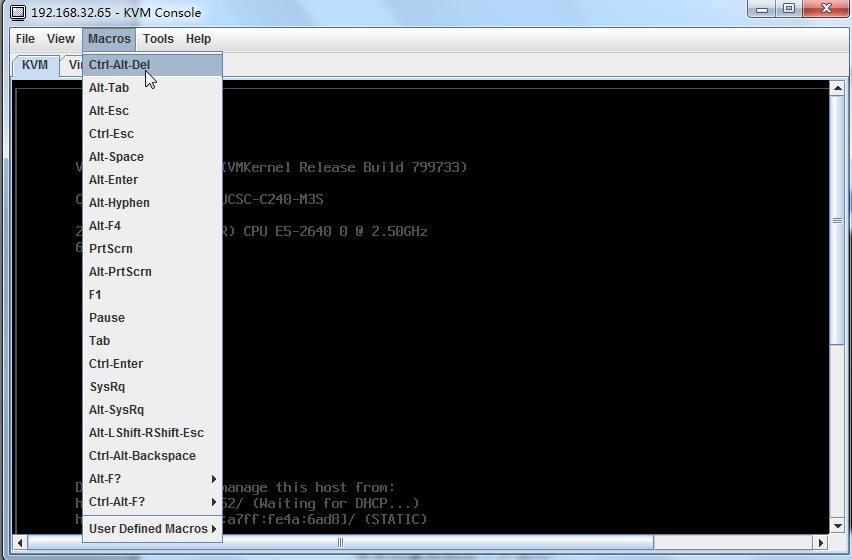
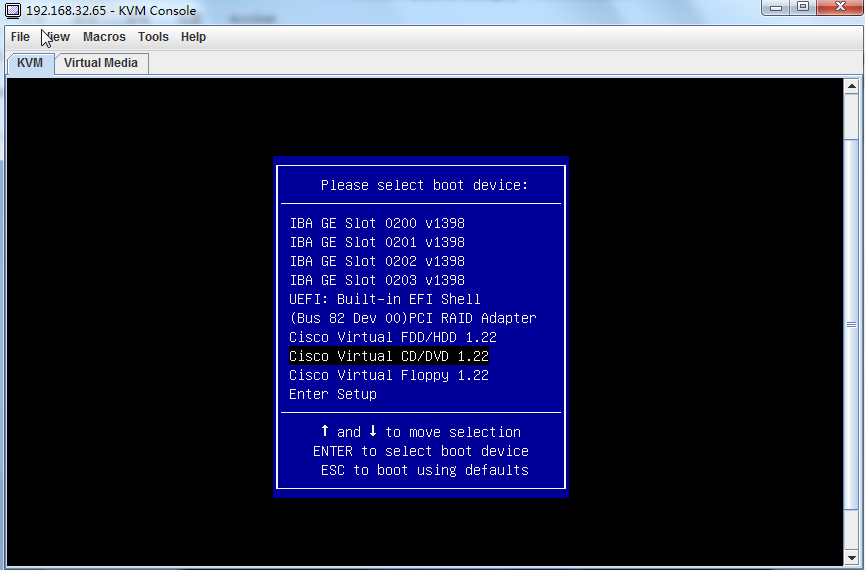
after boot, press F6 to Boot Menu

choose cisco virtual CD/DVD 1.22
Select ESXi-5.1.0
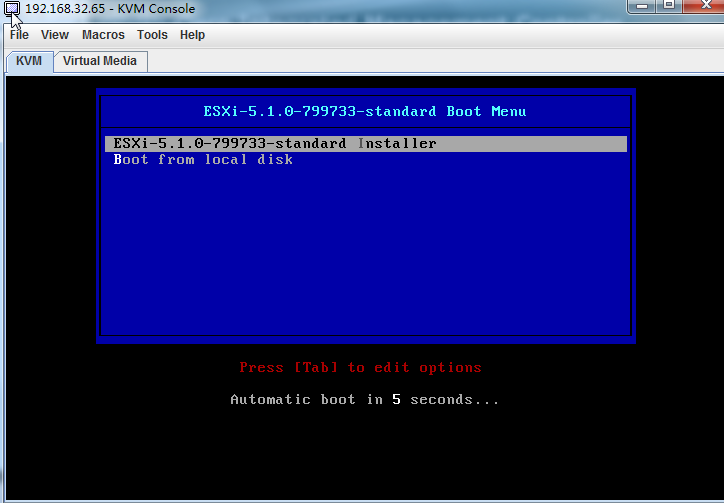
Install starts

About 20 minutes late will see Mware ESXi
No comments:
Post a Comment