This part of the lab shows you how to configure the Cisco Telepresence Video Communication Server (VCS) version X8.1 and Cisco Unified Communications Manager version 10.x to interwork via a SIP trunk.
Configuring CUCM to enable calls between devices registered on CUCM
The configuration of CUCM and phones registered to CUCM consists of the following steps:
- Configuring the SIP Profile for VCS (Already exists if using 9.x +)
- Configuring the Region with appropriate bitrates for Video calls
- Configuring a SIP profile for devices registered to CUCM
- Adding the device to the list of supported devices by CUCM
- Configuring the device directory number
- Configure the device to get its configuration from CUCM
Configuring the Region with an appropriate bit rate for Video
- Access CUCM: https://10.10.10.15/ccmadmin
Username: admin
Password: C1sc0123
- Go to System > Region Information > Region
Click Find
- Select Default Region
- Set Maximum Session Bitrate for Video Calls to 6000kbps
- Click Save & Click OK at popup
- Click Apply Config & Click OK at popup
- Click Reset & Restart at popup. Click close at popup
Adding EX60 to CUCM
Register EX60 on the left side of your pod to CUCM
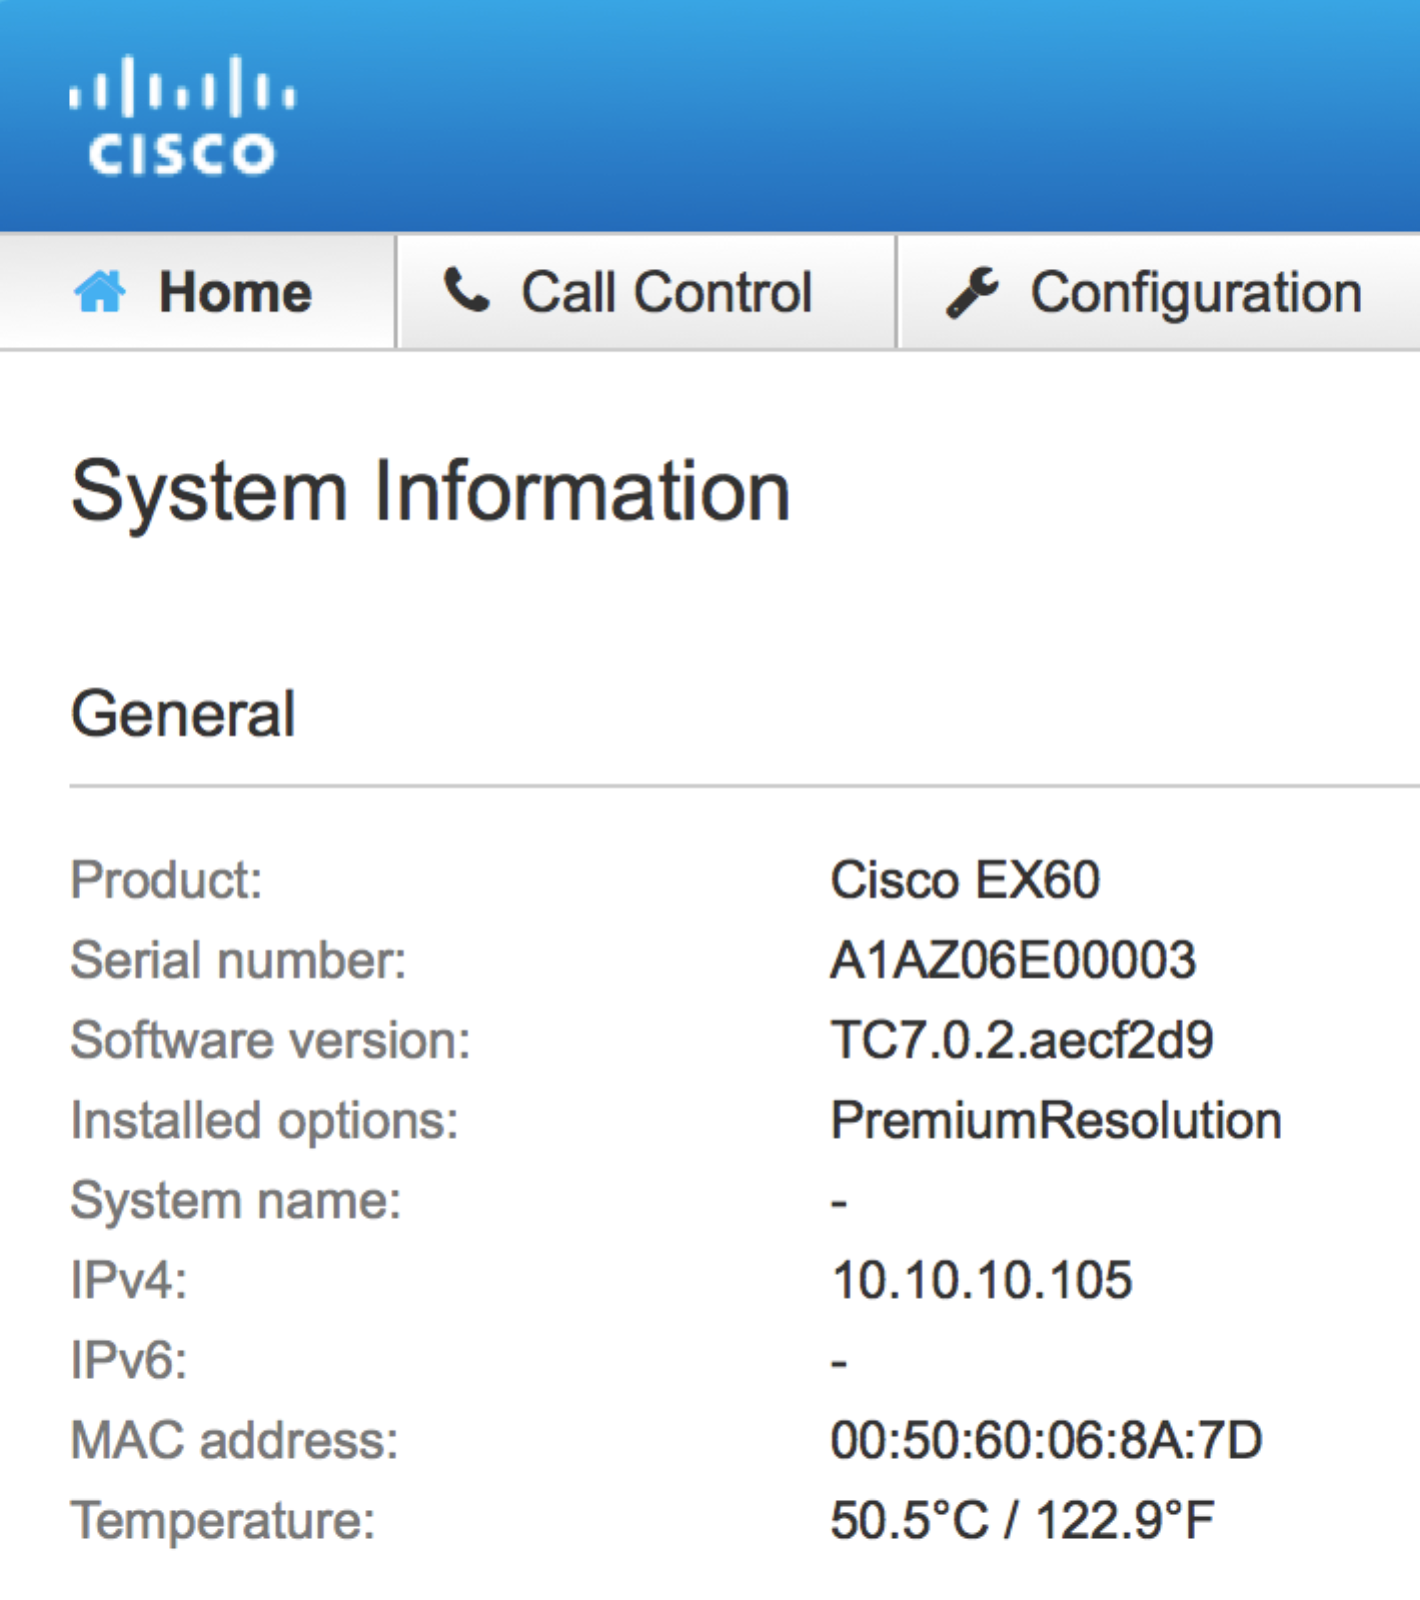
To register EX60, you will need to enter the MAC address. To find EX60 MAC address
Press top left hand corner of Touch panel
Select Settings
Select System Information
Find IPv4 address of EX60: 10.10.10.x
Access EX60 web UI at http://10.10.10.x
Username: admin
Password: <none>
Copy MAC address from Home menu into notepad. Delete all colons “:” so MAC is only digits & numbers
- Access CUCM: https://10.10.10.15/ccmadmin
Username: admin
Password: C1sc0123
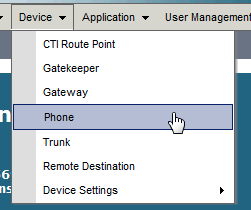
- On the top menu, select Device -> Phone
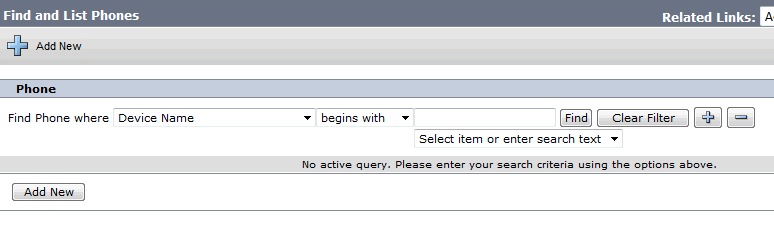
- Select Add New
- From the dropdown list, Select Phone Type -> Cisco TelePresence EX60, and press Next.

- Enter or select the following:
MAC Address: MAC Address of your POD’s EX60
Description: Bill Zeng EX60
Device Pool: DP_Lab
Phone Button Template: Standard Cisco TelePresence EX60
Owner User ID: bzeng
Device Security Profile: Cisco TelePresence EX60 – Standard SIP Non-Secure Profile
SIP Profile: Standard SIP Profile for TelePresence Endpoint
Admin Username: admin
Admin Password:
Web Access: Enabled
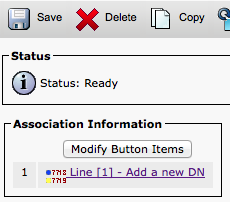
Click Save and Apply Config
- Click Line [1] – Add a new DN
Enter or select the following:
Directory Number: 1001
Route Partition: PT_Local
Line 1 on Device
Display (Caller ID): Bill Zeng
ASCII Display (Caller ID): Bill Zeng
Click Save and Apply Config
Click Reset -> Reset
Click Close
- On the EX60 Touch Control, press Settings -> Administrator
Username: admin
Password: <none>
- Goto Provisioning –> Provisioning Wizard -> Start
- Select Cisco UCM -> Register
If prompted, enter following:
External Manager: 10.10.10.15
Register
Click OK
Calls can now be made between devices registered to CUCM.
Remote Desktop into workstation 2 @10.10.10.102
Username:student2
Password: C1sc0123
Verify by calling from Jabber to EX60.
If your POD’s EX60 prompt to perform System Upgrade. Accept the Software Upgrade by pressing Upgrade Now on the Touch Control.
VCS Control configuration
Configuration of the VCS Control, to enable calls to be made with devices registered to the VCS Control, can be broken down into four steps.
- Setup NTP Server
- Setup DNS Server
- Setup SIP domain of the VCS Control
- Create a transform, to ensure the dialed number has a domain added to it.
Setup NTP Server
Configure the NTP Server setting on the VCS
- Login into VCS Control, Navigate to http://10.10.10.65 and login
- Username: admin
- Password: C1sc0123
- Go to System > Time
- Configure NTP Server 1: 10.10.10.5
- Authentication: Disabled
- Click Save
- Verify NTP synchronization

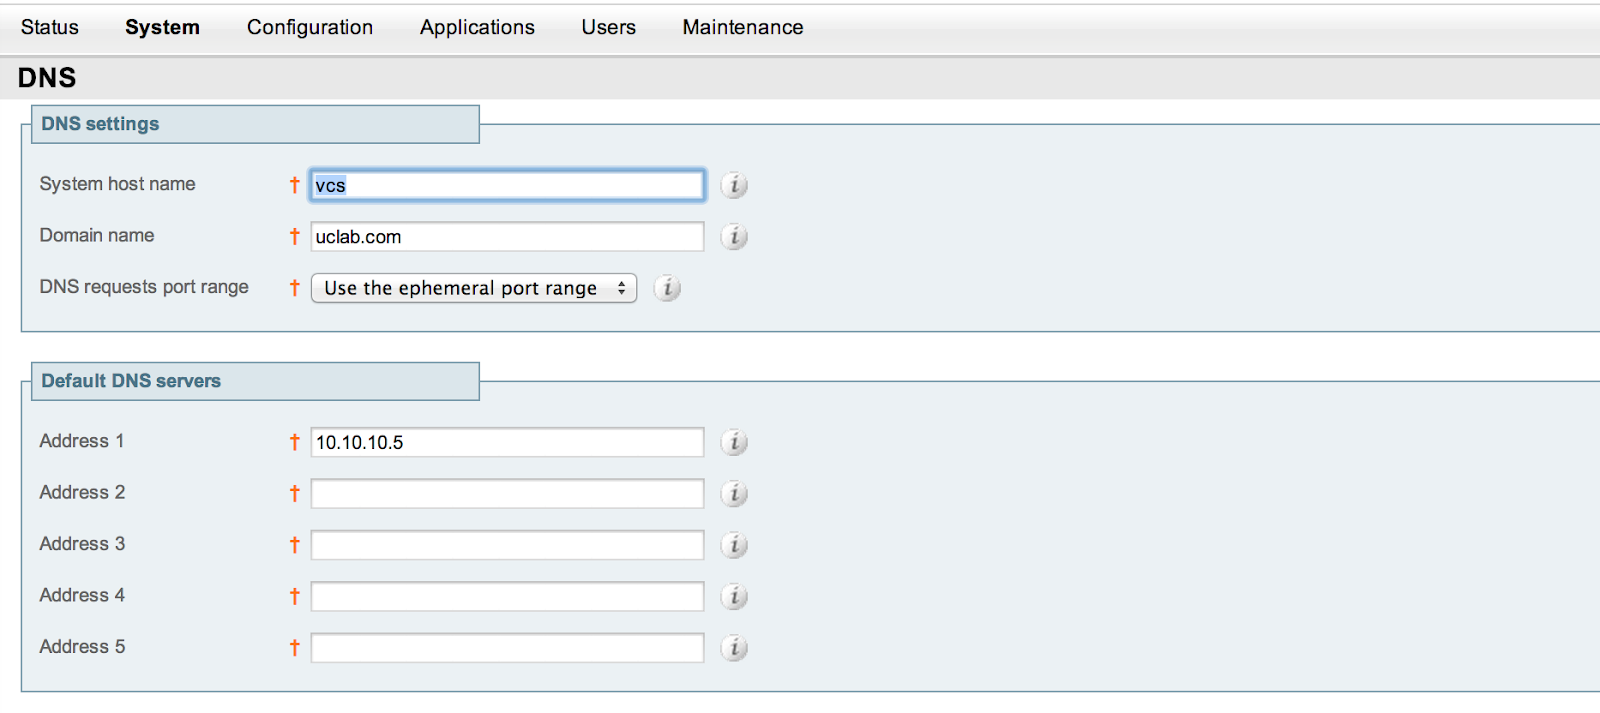
Setup DNS Server Setting on VCS Control
- Go to System > DNS
- Configure System Host Name: vcs
- Configure Domain Name: uclab.com
- Configure Address 1: 10.10.10.5
- Click Save
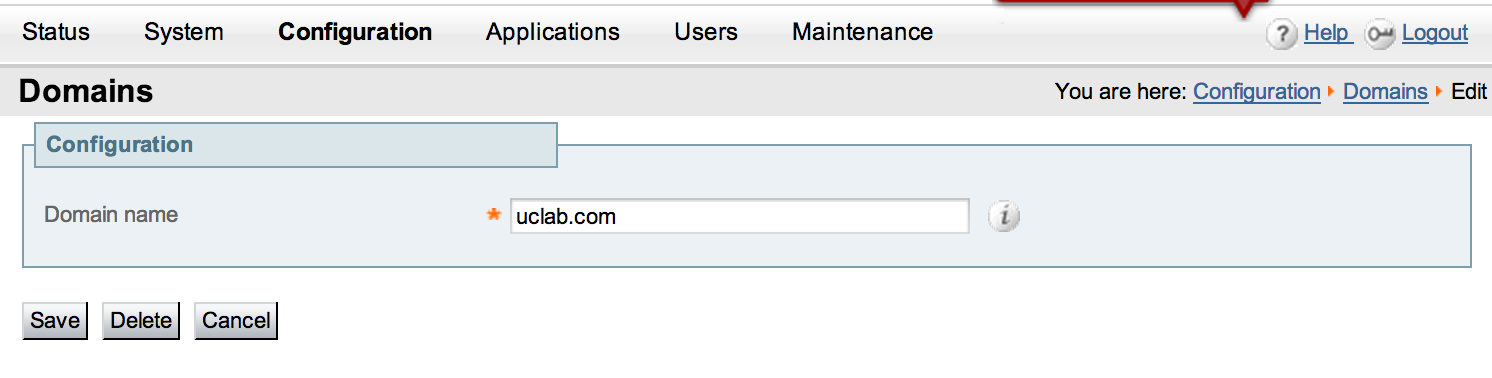
Setup the SIP domain of the VCS Control
- Go to Configuration > Domains
- Click NEW
- Configure Domain Name: uclab.com
- Click Save
Create Transform to ensure the dialed string has the domain component added.
- Go to Configuration > Dial Plan > Transforms
- Click NEW

- Configure the following fields as follows
- Description: Add domain where none exists
- Pattern Type: Regex (Regular Expression)
- Pattern String: ([^@]*)
- Pattern Behavior: Replace
- Pattern String: \1@uclab.com
- State: Enabled
- Click Create Transform
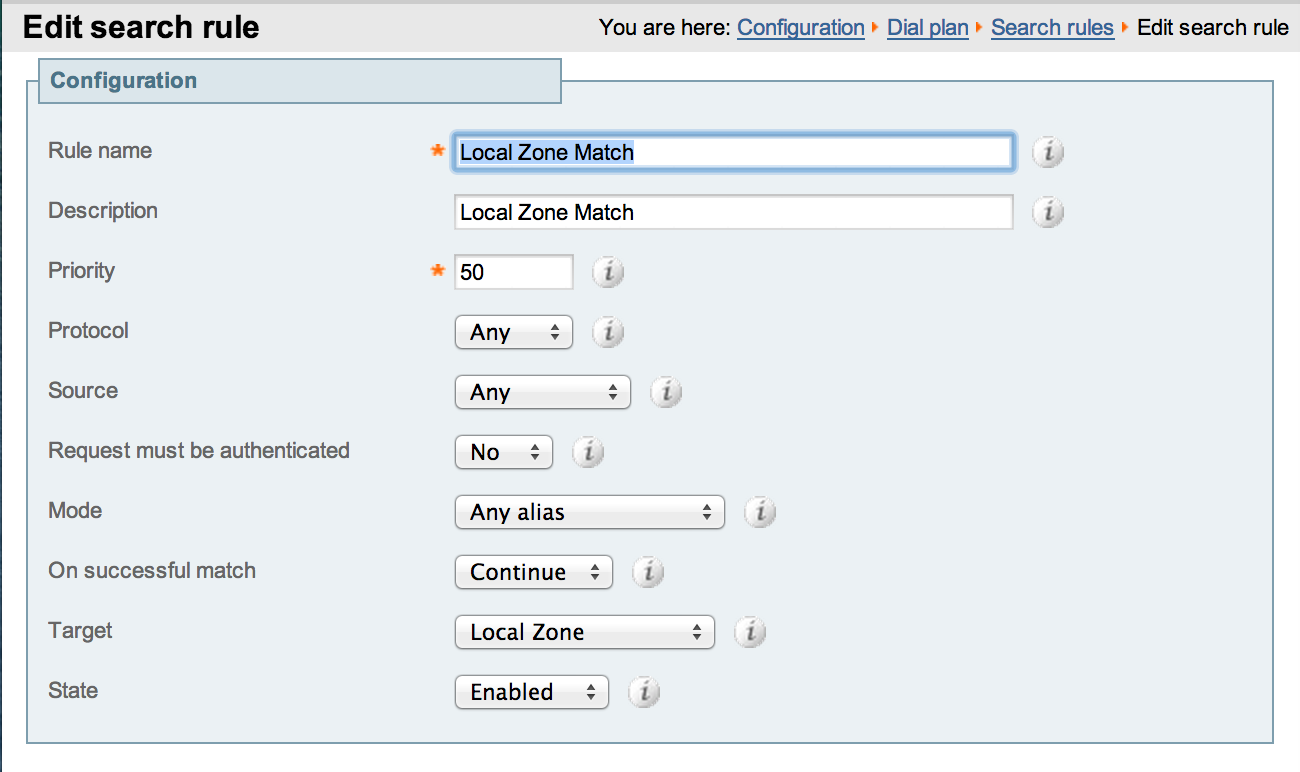
Confirm/Create a search rule to search Local Zone
- Go to Configuration > Dial Plan > Search Rules
- Click New
- Configure the following fields as follows
- Rule Name: Local Zone Match
- Description: Local Zone Alias Match
- Priority: 50
- Protocol: Any
- Source: Any
- Mode: Any Alias
- On Successful Match: Continue
- Target: LocalZone
- State: Enabled
- Click Create search rule
Registering endpoints to the VCS Control
Register EX60 on right side of your pod as H323 endpoint
- Press the setup icon on the touch panel
- Press Administrator
Username: admin
Password: <none>
- Select H323. Enter the following details
- H.323 Number: 2001
- H.323 Id: 2001@uclab.com
- Gatekeeper discovery: Manual
- Gatekeeper Address: 10.10.10.65
- Authentication Mode: Off
- Click Save
- Press Call Details
- Default Protocol: H323
- Click Save
- Access EX60 web UI at http://10.10.10.x
- Username: admin
- Password: <none>
- Go to Network Services
- Ensure H323 is Enabled
Confirming Endpoint Registration to VCS
- Access back to VCS
- Go to Status > Registrations >By device
You should see your device registered to VCS
Enabling Endpoints on VCS to call endpoints on CUCM. Configuring the trunk from VCS to CUCM
Configuring CUCM can be broken down into 3 steps:
- Configure the SIP trunk security profile
- Configure the SIP trunk device
- Configure the Cluster FQDN
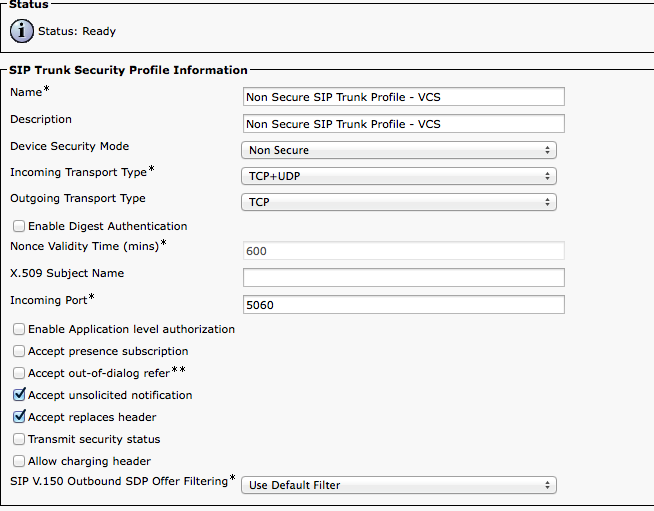
Configure the SIP Trunk Security Profile
- Go to System > Security > SIP Trunk Security Profile
- Add New
- Name: Non Secure SIP Trunk Profile - VCS
- Device Security Mode: Non Secure
- Check box – Accept unsolicited notification
- Check box – Accept replaces header
- Click Save
- Click Reset – to reset the trunk
Creating SIP Trunk to VCS
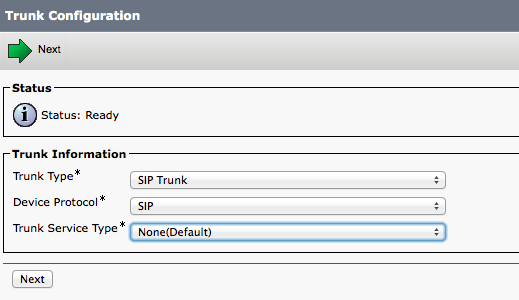
Step 1 On the top menu, select Device -> Trunk
Step 2 Click Add New to create SIP Trunk to VCS, select the following:
Trunk Type: SIP Trunk
Device Protocol: SIP
Trunk Service Type: None (Default)
Click Next
Step 3 Enter or select the following:
Device Information
Device Name: VCS_Trunk
Description: VCS_Trunk
Device Pool: DP_Lab
Call Classification: OnNet
Check SRTP Allowed
Check Run On All Active Unified CM Nodes
Inbound Calls
Calling Search Space: CSS_All_Access
Check Redirecting Diversion Header Deliver - Inbound
Outbound Calls
Calling and Connected Party Info Format: Deliver URI and DN in connected party, if available
SIP Information
Destination Address: 10.10.10.65
Destination Port: 5060
SIP Trunk Security Profile: Non Secure SIP Trunk Profile - VCS
SIP Profile: Standard SIP Profile for Cisco VCS
DTMF Signaling Method: RFC 2833
Normalization Script: vcs-interop
Enabling calls to be placed from VCS to CUCM.
Configuring the VCS to setup the Trunk from VCS to CUCM
The configuration of the VCS has 3 steps.
- Create a neighbor zone that contains the details of CUCM
- Create a search rule to route calls to that zone
- Create a transform, to convert <alias>@<IP address of CUCM> to number <number>@uclab.com
Creating a neighbor zone to CUCM
- On VCS, Go to Configuration > Zones > Zones
- Click New

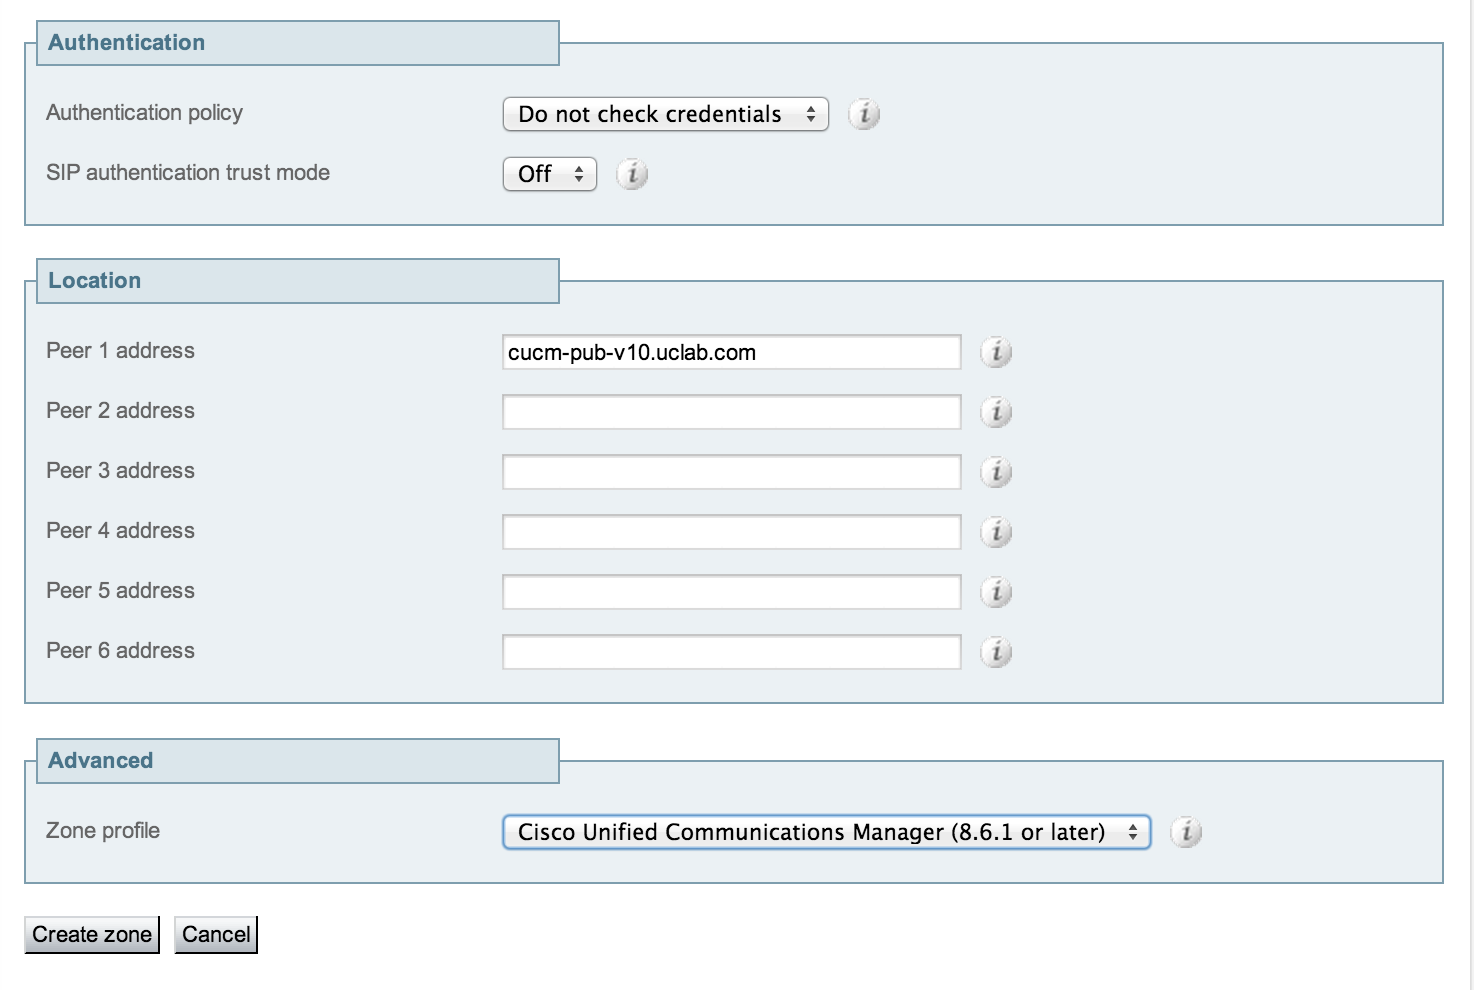
- Configure the following fields:
- Name: CUCM Neighbor
- Type: Neighbor
- Hop Count: 15
- H.323 Mode: Off
- SIP Mode: On
- SIP Port: 5060
- Transport: TCP
- Accept Proxied Registrations: Deny
- Media Encryption Mode: Auto
- Peer 1 Address: cucm-pub-v10.uclab.com
- Zone Profile: Cisco Unified Communications Manager 8.6.1 or later
- Click Create Zone
- Confirm Zone is Reachable.
Create a search rule to route calls to the CUCM neighbor Zone
- Go to Configuration > Dial Plan > Search Rules
- Click New
- Configure the following fields as follows
- Rule Name: Route to CUCM
- Description: Route all calls not found to CUCM
- Priority: 100
- Protocol: Any
- Source: Any
- Mode: Any Alias
- On Successful Match: Stop
- Target: CUCM Neighbor
- State: Enabled

- Click Create Search Rule
Create a transform that converts number@<ipaddr of CUCM> to number@uclab.com
- Go to VCS Configuration > Dial Plan > Transforms
- Click NEW
- Configure the following fields as follows
- Prioirty: 3
- Description: VCS IP to domain
- Pattern Type: Regex (Regular Expression)
- Pattern String: (.*)@10.10.10.(15|65)((:|;).*)?
- Pattern Behavior: Replace
- Pattern String: \1@uclab.com\3
- State: Enabled

- Click Create Transform
Creating SIP Route Pattern on CUCM
- On the top menu, select Call Routing -> SIP Route Pattern
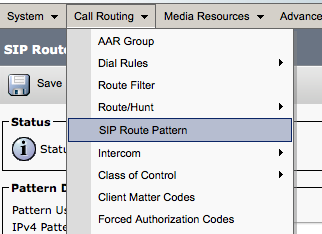
- Click Add New to add new SIP Route Pattern
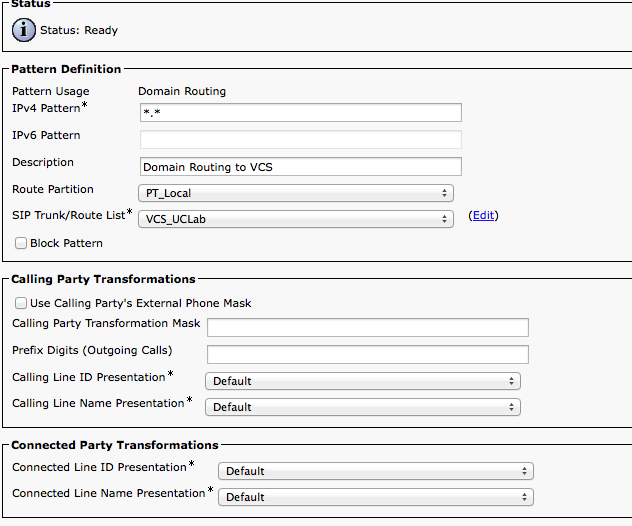
- Enter or select the following:
Pattern Usage: Domain Routing
IPV4 Pattern: *.*
Description: Domain Routing to VCS
Route Partition: PT_Local
SIP Trunk/Route List: VCS_Trunk
Click Save
Creating Route Pattern on CUCM
- On the top menu, select Call Routing -> Route Hunt -> Route Pattern
- Add New
- Enter or select the following:
Route Pattern: 2XXX
Route Partition: PT_Local
Description: To VCS H323
Route List: VCS_Trunk
Call Classification: OnNet
Calls can now be placed between VCS and CUCM.
No comments:
Post a Comment