Most people use excel to deal with daily routine tasks or storing a hug colossal data. This is an example how to create a xml file by using excel.
Please prepare a xml schema file that includes titles like this:
<?xml version="1.0" encoding="UTF-8" standalone="yes"?>
<data-set xmlns:xsi="http://www.w3.org/2001/XMLSchema-instance">
<record>
<LastName>Smith</LastName>
<Sales>16753</Sales>
<Country>UK</Country>
<Quarter>Qtr 3</Quarter>
</record>
<record>
<LastName>Johnson</LastName>
<Sales>14808</Sales>
<Country>USA</Country>
<Quarter>Qtr 4</Quarter>
</record>
</data-set>
|
Then we open a excel file that contains your data with the proper titles that haven’t been mapped yet.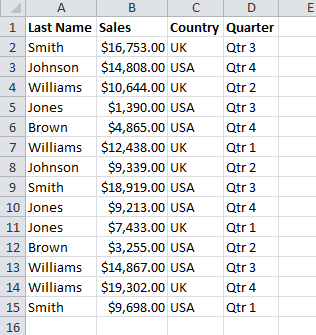
In order to perform the mapping titles, we will use developer section in excel. Right click anywhere of your menu panel to choose Customize the Ribbon
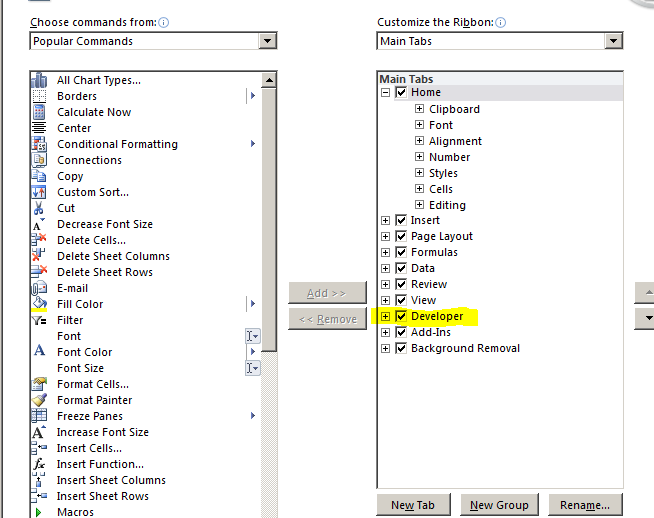
Enable Developer ribbon
In developer ribbon, click source button, then click XML maps button down below the XML Source window.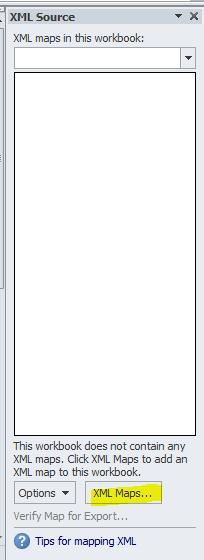
Click Add button to import xml schema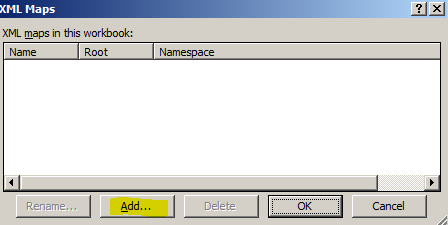
Click OK twice

Now you are going to see the titles that are showing on the right side.
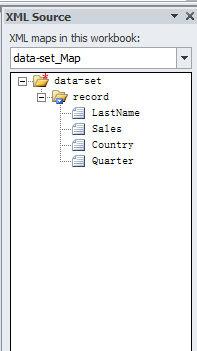
Just simply drag one of the titles to the proper cell that matches the title on the left side.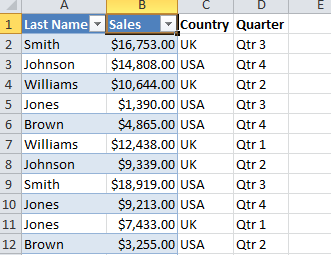
After finishing the maps, click export button to create a xml file copy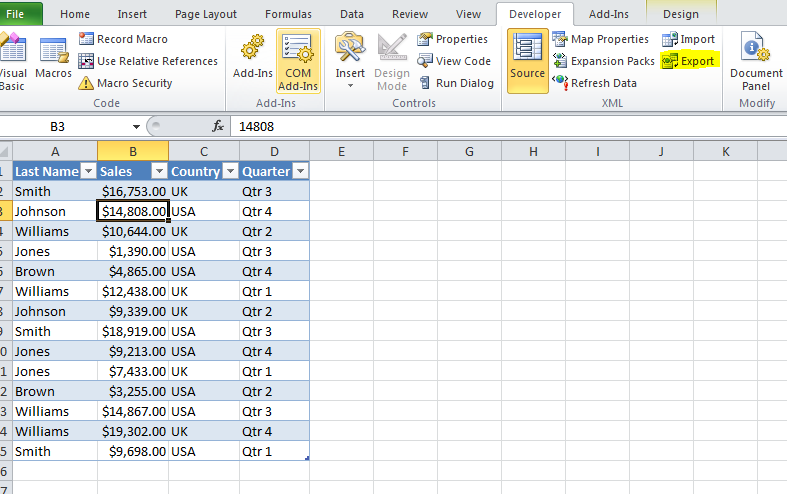

Open the xml file that was created in the previous step by using XML notepad. Now you will see the file is properly formatted.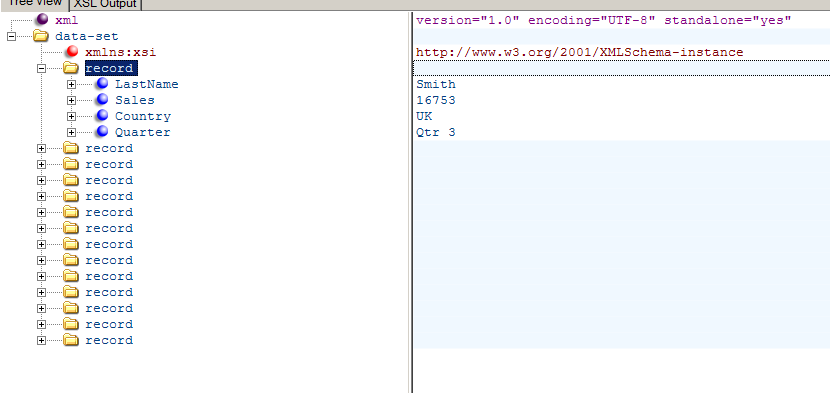
No comments:
Post a Comment